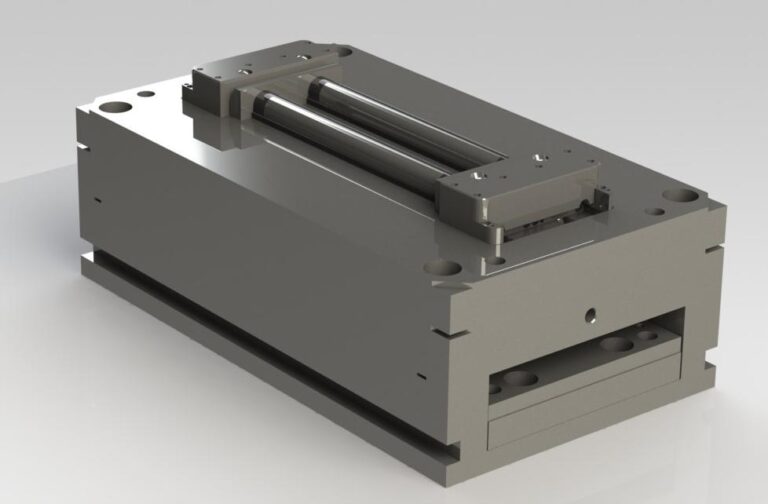
Injection molding is a widely applied process that caters to the needs of different industries, from engineering to household products. It creates high-precision parts in large quantities and leverages different types of materials, such as a broad spectrum of plastic resins and a variety of ceramic powders.
However, it’s essential to choose a reliable company for your parts and understand the steps the process includes to ensure you receive optimal results. If you contact Wunder-Mold, their team of experts will provide you with all the information you need and work together with you to provide you with the parts that meet your specific requirements. In the meantime, you can find out more about the process. Read on!
What are the basics of injection moulding?
During the process, molten plastic or ceramic material is injected into the mould at high pressure and left to cool down and solidify. Moulds are typically made of a strong metal like steel to be able to withstand heavy use and provide precision designed by engineers. Let’s have a closer look at the steps of the process:
Design & mold
Your professionals will first work with you to understand your needs and the specific characteristics your part should feature. Based on this information, they’ll design the mould and suggest an optimal blend of raw materials. Once the design is approved, they’ll create the mold and proceed to the prototyping stage for verification before starting mass production.
Clamping
The process of clamping involves mounting the mold onto an injection molding machine. A mould is usually made in two, clamshell-like pieces. These two metal plates are placed against each other in the machine press.
Injection
Once the mould plates have been clamped together, it’s time to start the injection. In plastic moulding, the selected plastic resins are fed into the hopper and further melted into a liquid state. However, ceramic powders require additional binders for cohesion and flow.
The liquid material is then injected into the mold at a certain temperature, which should remain constant throughout this stage.
Dwelling & cooling
During the dwelling stage, the molten material fills the entire mold, with pressure applied directly to the mold to ensure the material fills each cavity and the finished product is identical to the mold.
Right after the material has been injected, it is left to cool, so that it can solidify into a product that can be removed from the mold safely.
Mould opening & ejection
When the part has cooled and solidified, the clamping motor opens the mould, allowing for the simple and safe removal of the finished product. An ejector bar pushes the part out of the cavity of the open mould.
Surface finishing
Depending on the application, your part may or may not require surface finishing. However, the process can enhance the part’s aesthetics and functionality, allowing for a smooth and uniform surface. There are different finishing techniques available, some of the most common being:
- Sanding uses abrasive materials to smooth the surface, remove imperfections, and prepare it for further finishing. It’s typically used to create an even texture and improve adhesion for coatings or paint.
- Polishing: achieves glossy finish with the help of fine abrasives and polishing compounds. It can enhance the aesthetic appearance and improve surface properties such as resistance to corrosion and friction.
- Chemical etching involves using acids or other chemicals to remove material from the surface selectively. The process creates intricate designs, patterns, or textures, which are typically used for decorative purposes or to improve adhesion.

