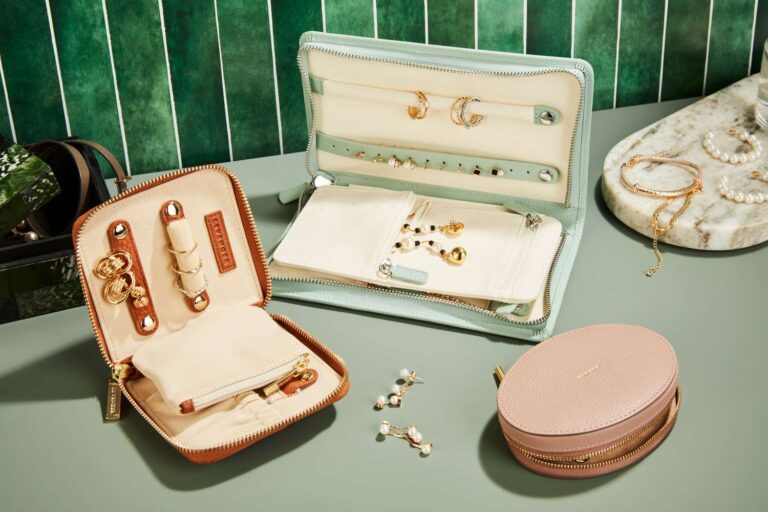
Traveling with jewelry can be tricky—without proper storage, delicate pieces can tangle, scratch, or get lost in your luggage. A travel jewelry pouch is the perfect solution to keep your jewelry organized and safe. Even better, making one yourself allows you to customize the pouch to suit your needs and style. This guide will walk you through the materials, tools, and steps required to create your own travel jewelry pouch, while also exploring the high-quality custom jewelry pouches offered by PackAQ for professional-grade packaging and organization.
Materials for a Travel Jewelry Pouch
The right materials are key to creating a functional and stylish travel jewelry pouch. Below are the essential components you’ll need:
1. Fabric
- Outer Layer: Use a durable and attractive fabric like velvet, cotton, or linen for the exterior.
- Lining: Choose a smooth fabric like satin or microfiber to protect your jewelry from scratches.
- Padding (Optional): For extra cushioning, add a layer of batting or foam.
2. Drawstring
- Use ribbon, cord, or twine as the drawstring to secure the pouch. Match the color or texture to the fabric for a cohesive look.
3. Thread
- Select high-quality thread in a color that complements your fabric. Strong, durable thread is essential for securing the seams.
4. Accessories
- Consider small interior pockets or elastic bands for added functionality. These can keep different types of jewelry (like earrings, rings, and necklaces) organized.
Tools You’ll Need
Gather the following tools before starting your project:
- Scissors or Rotary Cutter: For cutting fabric with precision.
- Sewing Machine or Needle: A sewing machine speeds up the process, but hand-stitching is also an option.
- Pins or Fabric Clips: To hold the fabric pieces in place while sewing.
- Measuring Tape or Ruler: For accurate measurements.
- Iron: To press the fabric and create crisp edges.
- Safety Pin: To thread the drawstring through the casing.
Steps to Make a Travel Jewelry Pouch
Follow these simple steps to create your own travel jewelry pouch:
Step 1: Measure and Cut the Fabric
- Cut two circles from your chosen fabrics (outer and lining). For a medium-sized pouch, a 12-inch diameter works well.
- If you’re adding padding, cut a circle of batting the same size as the fabric.
Step 2: Layer and Pin the Fabrics
- Place the outer fabric and lining fabric together with their right sides facing each other. Add the padding on top if using.
- Pin or clip the edges to hold the layers securely.
Step 3: Sew Around the Edges
- Sew around the edge of the circle, leaving a small 2-inch opening for turning the fabric right-side out.
- Turn the fabric right-side out through the opening and press the edges flat with an iron.
Step 4: Create the Drawstring Casing
- Sew a circular seam about 1 inch from the edge of the fabric to create the casing for the drawstring.
- Leave a small gap in the casing to thread the drawstring through.
Step 5: Add the Drawstring
- Attach a safety pin to one end of the drawstring and thread it through the casing.
- Once the drawstring is threaded all the way around, tie the ends together in a secure knot.
Step 6: Add Interior Organization (Optional)
- Sew small fabric pockets or elastic loops onto the lining to create compartments for rings, earrings, or necklaces.
- Make sure the compartments are securely stitched to hold the jewelry in place during travel.
Step 7: Test and Finalize
- Place a few pieces of jewelry inside the pouch and pull the drawstring to ensure it closes securely.
- Trim any excess threads and make any final adjustments.
Why Choose PackAQ’s Custom Jewelry Pouches?
While crafting your own travel jewelry pouch is a rewarding experience, PackAQ offers professionally made custom jewelry pouches that combine elegance, functionality, and durability. Here’s why PackAQ is the perfect choice for businesses and individuals:
1. High-Quality Materials
- PackAQ uses premium fabrics like velvet, satin, and suede to ensure the pouches are both stylish and protective.
- Soft linings prevent scratches, while durable exteriors withstand frequent use.
2. Customization Options
- Tailor your pouches with branding, logos, or unique designs to reflect your style or business identity.
- Choose from various sizes, colors, and finishes to match your specific needs.
3. Functional Design
- Many of PackAQ’s pouches include compartments or loops for added organization, making them ideal for travel or retail use.
4. Eco-Friendly Options
- PackAQ is committed to sustainability, offering pouches made from recyclable and biodegradable materials.
5. Versatility
- These pouches are perfect for gifting, travel, retail packaging, and promotional events.
Tips for Making and Using a Travel Jewelry Pouch
1. Choose the Right Fabric
- Use lightweight, durable fabrics for travel-friendly pouches. For a luxurious feel, opt for velvet or satin.
2. Focus on Functionality
- Incorporate interior pockets or loops to keep different types of jewelry organized and tangle-free.
3. Add Decorative Elements
- Customize your pouch with embroidery, beads, or printed patterns to make it unique.
4. Test Before Use
- Ensure the drawstring closes securely and the compartments hold the jewelry firmly before using the pouch for travel.
5. Pair with a Gift Box
- For gifting or retail use, pair the pouch with a custom jewelry box for a complete and polished presentation.
A travel jewelry pouch is a practical and stylish accessory that protects and organizes your jewelry on the go. By following the steps outlined above, you can create a personalized pouch tailored to your needs. However, if you’re looking for a professional-grade solution, custom jewelry pouches from PackAQ are the perfect choice.
With premium materials, customizable designs, and eco-friendly options, PackAQ’s pouches provide elegance, durability, and functionality. Ready to elevate your jewelry packaging? Contact PackAQ today and discover how their custom jewelry pouches can enhance your travel and gifting experience!

